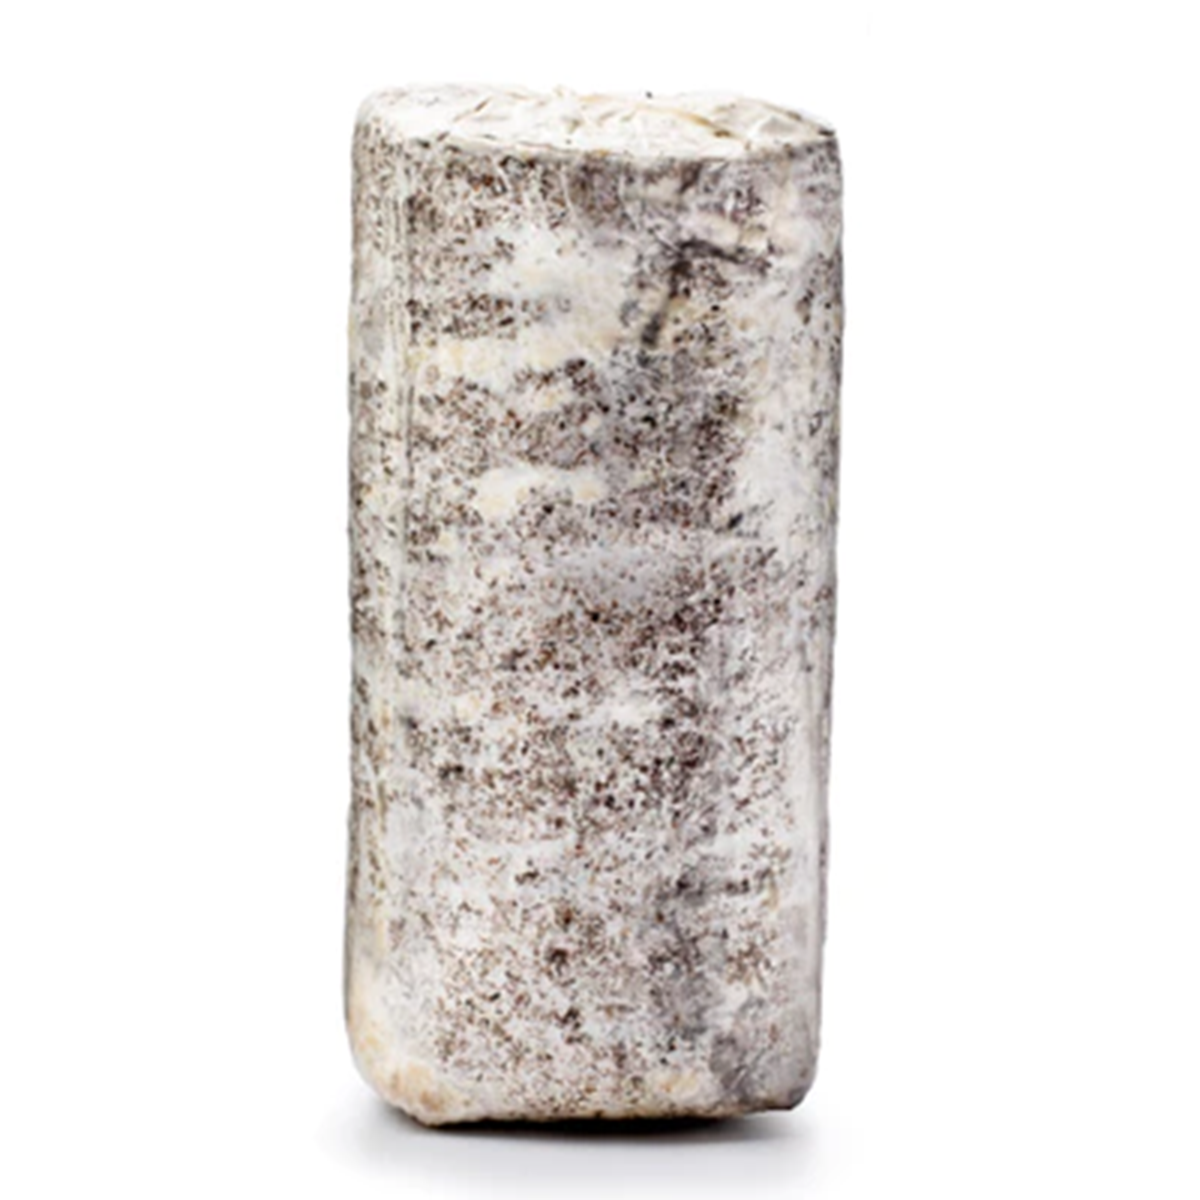
Gốc Nấm Hàu DIY 1 cái
Behold, an oyster mushroom log. It’s kind of a big deal. It may arrive to you as a haunting bag of mystery, but you actually got much more. No more wandering the forest or your grocery store in search of fresh mushrooms. Place your mushroom log in a dark warm room and make sure it’s hydrated. Follow the instructions below and your log will give you a happy harvest. In a week or so, those tiny tasty mushrooms will make it into your meal. It really can’t get cooler than that. Happy shroomin’, folks.
3 Simple-Step Growing Process:
1) Inoculation
2) Incubation
3) Fruiting
The log must be placed in a bag with small air holes for breathability. Take out the plastic opening tucked into the hole for air intake. Wrap the plastic-covered log structure in a cloth, binding it snugly with a rubber band (not too tightly).
Place the bag in a warm dark room of 68-75 degrees F.
The bag is now exposed to autumn-like conditions with fresh oxygen, high humidity, low light, and often cooler temperatures in which it will start to produce mushrooms and small pins.
Mist the air opening with water 2-3 times per day. Be sure to spray it lightly as heavy intakes of water may damage the core.
A crop of mushrooms can be harvested a total of 3 times every 7-14 days befores the log exhausts its ability to manifest a mushroom crop.
You just need to wait another 5-7 days when the oyster mushrooms grow to a total length of 3-5 cm in length before you can harvest the produce!
Caution! Consider the following or mushrooms will not sprout:
1. Mushrooms will not sprout if the log is placed in a location of 89 degrees F or any extreme temperatures.
2. Rubber bands binding the towel to the log should not be too tight.
3. Removing the plastic bag too early--before any signs of mushroom sprouthing--may cause dryness.
4. Be aware of the log's exposure to sunlight.
5. Do not drench the log with water.